
Understanding Snap Dome Installation Basics
Installing a snap dome onto a printed circuit board seems straightforward enough—place the dome over the contacts and secure it. But anyone who has dealt with failed switches or inconsistent tactile feedback knows the reality is more nuanced. Proper installation requires attention to preparation, alignment, and verification steps that determine whether the final product performs reliably.
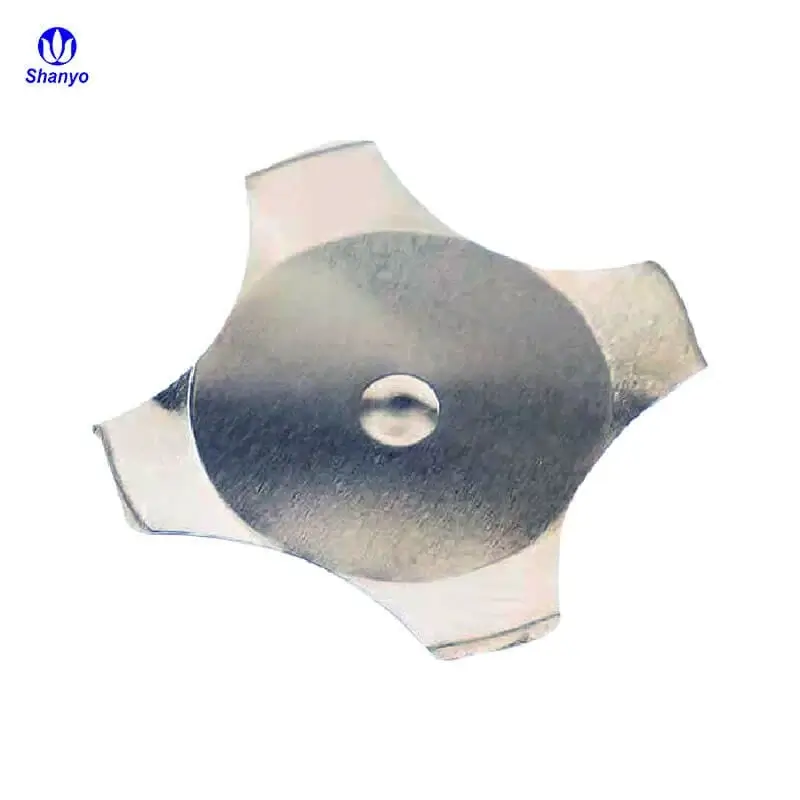
These small metal components deliver the satisfying click users expect from buttons and keypads. When installation goes well, the result is responsive, consistent actuation over millions of cycles. When it doesn’t, problems range from mushy feel to complete electrical failure. Worth getting right from the start.
Pre-Installation Preparation for Snap Dome Mounting
Before any dome touches the PCB surface, several preparation steps need attention. Skipping these tends to cause issues that only become apparent later—sometimes after products ship.
PCB Inspection Requirements
The board itself needs examination for:
- Contact pad integrity and proper surface finish
- Absence of solder bridges or debris on contact areas
- Correct pad dimensions matching dome specifications
- Clean, contamination-free surfaces
Any solder paste residue, flux, or fingerprint oils on contact pads creates resistance problems. A thorough cleaning with isopropyl alcohol and lint-free wipes addresses most contamination. Some facilities use ionized air blowers to remove particulates.
Dome Component Verification
Snap dome components should be inspected before installation too. Damaged domes—bent legs, deformed crowns, or scratched surfaces—won’t perform correctly. Suppliers typically ship domes on carrier strips or in protective packaging, but handling damage happens.
| Inspection Point | What To Look For | Action If Found |
|---|---|---|
| Dome Crown | Dents, scratches, deformation | Reject component |
| Leg Alignment | Bent or misaligned legs | Reject or carefully reform |
| Surface Condition | Oxidation, contamination | Clean or reject |
| Carrier Film | Tears, adhesive issues | Replace array section |
Snap Dome Installation Methods Explained
Several approaches exist for getting domes onto PCBs. The right choice depends on production volume, equipment availability, and product requirements.
Manual Individual Placement
For prototypes or very low volumes, placing individual snap dome components by hand remains viable. This approach requires:
- Tweezers or vacuum pickup tools
- Magnification for precise positioning
- Adhesive rings or dots pre-applied to dome or PCB
- Steady hands and patience
The process involves picking up each dome, aligning it over the contact pad, and pressing down to secure the adhesive. Alignment marks on the PCB help considerably. Without them, centering becomes guesswork.
Manual placement works, but consistency varies with operator skill and fatigue. Not ideal for anything beyond small batches or repair work.
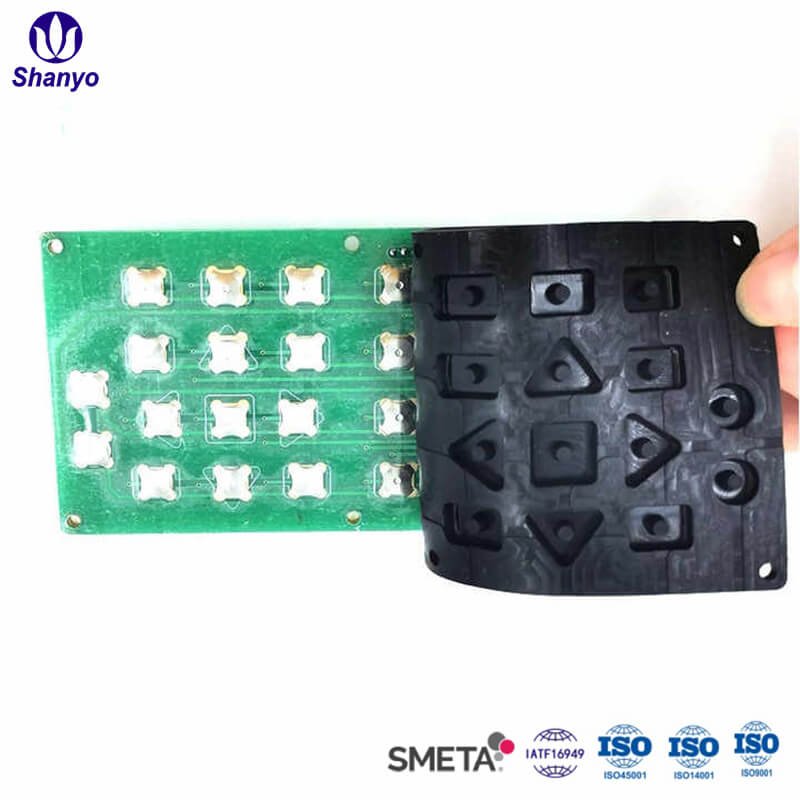
Dome Array Application
Most production environments use snap dome arrays—multiple domes pre-positioned on a polyester carrier film with adhesive backing. This method offers significant advantages:
- Precise dome spacing maintained by carrier
- Faster application versus individual placement
- Reduced handling damage
- Consistent adhesive coverage
Applying an array involves peeling the protective liner, aligning the array to registration marks or fixtures, and pressing down firmly. The entire switch layout gets installed in one operation.

Automated Assembly Options
High-volume production often employs automated systems. Pick-and-place machines adapted for dome placement can handle individual components or arrays. Some manufacturers offer domes in tape-and-reel format specifically for automated lines.
Automation brings consistency but requires upfront investment in tooling and programming. Makes sense for products manufactured in quantities of thousands or more.
Step-by-Step Snap Dome Installation Process
Regardless of which method applies, the general workflow follows similar stages. Here’s a practical breakdown for array-style installation, which represents the most common scenario.
Surface Preparation Steps
- Clean PCB contact areas with appropriate solvent
- Allow complete drying—residual moisture causes adhesion problems
- Verify ambient conditions fall within adhesive specifications
- Position PCB in fixture or work holder
Temperature and humidity matter more than some people realize. Most pressure-sensitive adhesives specify application conditions around 20-25°C and below 60% relative humidity. Outside these ranges, bond strength suffers.
Alignment and Placement
Getting the dome array positioned correctly requires care:
- Use alignment pins, fixtures, or visual registration marks
- Start adhesion from one edge, rolling toward the opposite side
- Avoid trapping air bubbles under the carrier film
- Apply even pressure across the entire array
Some technicians use a roller or squeegee to ensure complete contact. Others prefer finger pressure working systematically across the surface. Either works if done thoroughly.
Post-Placement Procedures
After the array sits on the PCB, additional steps ensure proper bonding:
- Apply firm pressure across all dome locations
- Allow adhesive to develop full strength (typically 24-72 hours for maximum bond)
- Avoid stressing the assembly during cure period
- Store in controlled conditions if not immediately proceeding to next assembly stage
Testing and Verification After Snap Dome Installation
Installation isn’t complete until verification confirms proper function. Testing catches problems before they reach end users.
Electrical Testing
Each snap dome position needs electrical verification:
- Continuity testing in actuated state
- Open circuit confirmation in rest state
- Contact resistance measurement
- Actuation force verification if equipment available
Automated test fixtures speed this process for production quantities. Manual testing with multimeters works for smaller batches.
Tactile Evaluation
Beyond electrical function, the tactile feel matters. Subjective evaluation involves pressing each dome and noting:
- Consistent click sensation across all positions
- Appropriate actuation force
- Clean release without sticking
- No unusual sounds or feelings
Domes that feel different from others in the same array might indicate installation issues, damaged components, or contamination.
Common Installation Mistakes and Solutions
- Misalignment – Dome not centered over contacts; causes intermittent operation
- Air bubbles – Trapped air under carrier; affects adhesion and potentially dome function
- Contamination – Debris on contacts; creates resistance or prevents closure
- Insufficient pressure – Weak adhesive bond; dome may shift over time
- Wrong orientation – Particularly with oval or legged domes; affects fit and function
Most problems trace back to rushing through preparation or placement steps. Taking adequate time upfront prevents rework later. If you want to know more about snap dome, please read about What Is a Snap Dome and How Does It Work?
FAQ
How long does adhesive need to cure after snap dome installation?
Most pressure-sensitive adhesives reach handling strength immediately but develop full bond strength over 24-72 hours. Temperature and humidity during this period affect final adhesion. For critical applications, allowing complete cure time before subsequent assembly or testing ensures reliable long-term performance.
Can a snap dome be removed and reinstalled if positioned incorrectly?
Individual domes can sometimes be carefully removed using tweezers, though the adhesive typically needs replacement. Array installations are more difficult to correct—removing one dome often damages adjacent positions. Prevention through careful alignment beats attempting rework in most cases.
What causes a snap dome to feel different after installation compared to before?
Several factors alter tactile feel after installation: the overlay material above adds force, adhesive thickness affects dome seating, contact pad height influences travel, and mounting surface flatness impacts dome geometry. Testing the complete assembly rather than loose components gives accurate feel assessment.