
Building a gadget is one thing; making it feel good to touch is another. You can write the best code in the world, but if the buttons on the front panel feel cheap or unresponsive, the whole device feels cheap. It’s unfair, but that’s how users judge quality.
At the center of this “feel” is usually a snap dome switch. Integrating one isn’t as simple as just gluing a piece of metal to a circuit board. It is a bit of an art form. It’s about building a stack of layers that all work together to let that little metal bubble do its job.
Designing the PCB Footprint for a Snap Dome Switch
The journey starts long before you pick up a soldering iron. It starts in the CAD software when you are laying out the Printed Circuit Board (PCB). The snap dome switch needs a very specific home to live on.
You can’t just put two random wires underneath it. You need to create a “landing pad.” Think of it like a target.
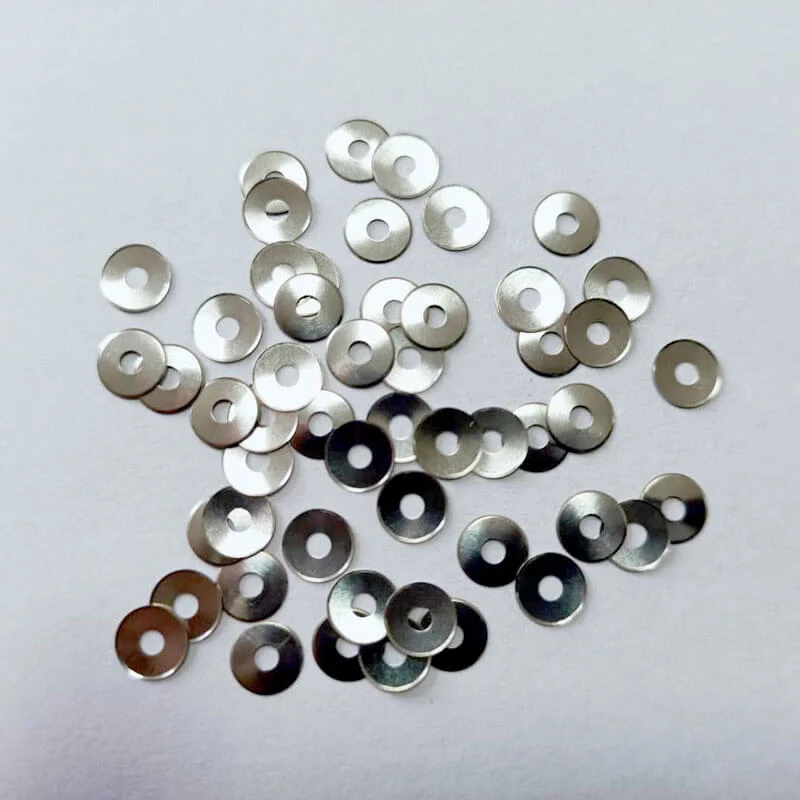
- The Bullseye: A circular pad in the dead center.
- The Ring: A separate ring of copper surrounding the center.
When the dome is resting, its feet sit on the outer ring. When you push it, the center collapses and hits the bullseye.
Observation: Many engineers cheap out here and use standard tin/lead finishes on these pads. That’s a mistake. If this device is going to be used in a humid place, or just used a lot, you really want Gold Immersion (ENIG) plating. Carbon buildup is real, and gold stops the switch from becoming “flickery” over time.
The Importance of Air Venting in Snap Dome Switch Design
This is the number one thing people forget. When you press down on a snap dome switch, the volume of air underneath it has to go somewhere. It’s physics. If that air is trapped, it acts like a compressed spring. The button will feel hard to press, and worse, when you let go, the suction might keep the button held down.
You have to let it breathe. Smart designers cut tiny channels—like little highways—into the PCB mask connecting the switch area to the outside world. Or, they use a specific type of dome.
Why Leg Shape Matters for Venting
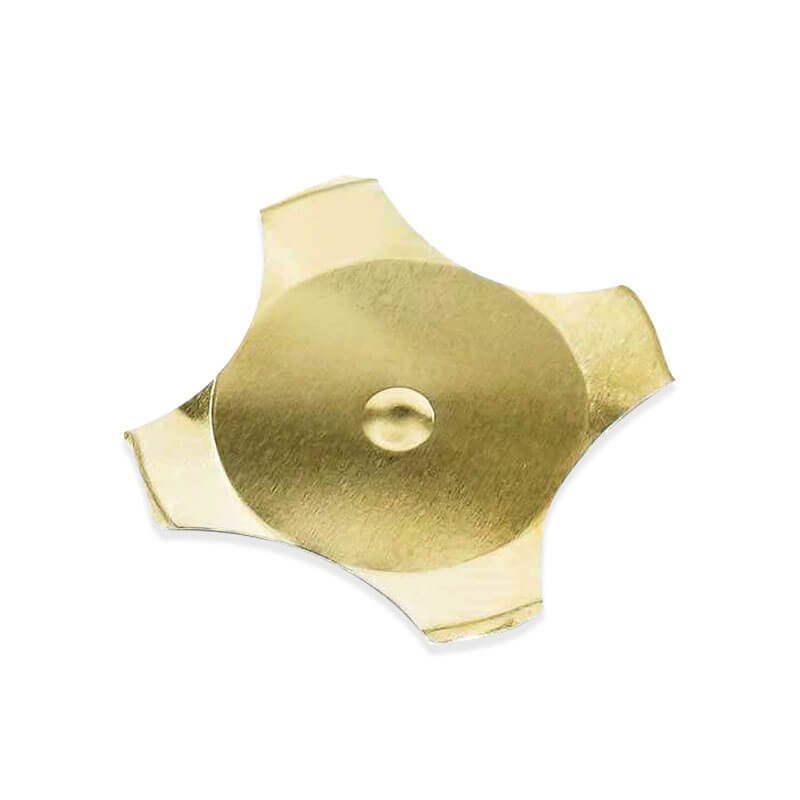
If you use a round circle dome, it seals tight all the way around. You must have vents in the board. But, if you use a four-leg (cross) snap dome switch, the gaps between the legs act as natural vents. Air just rushes out the sides. It makes the integration much more forgiving if you aren’t an expert at PCB layout.
The Assembly Stack: Building the Sandwich
You don’t usually see the bare metal dome on a finished product. It’s buried inside a “layer stack.” If you slice a control panel in half, here is what you should see, from bottom to top:
- Rigid PCB: The foundation.
- The Snap Dome Switch: Sitting on its pads.
- Retainer Layer: A sticker that holds the dome so it doesn’t wander off.
- Spacer Layer: This is crucial. It’s a layer of adhesive thick enough so the top graphic doesn’t pre-load the switch.
- Graphic Overlay: The part you actually touch.
If you mess up the spacer thickness, you get “ghosting.” The graphic layer presses on the dome just enough that a stiff breeze could trigger it.
Methods for Placing the Snap Dome Switch
| Method | Best For | Pros | Cons |
|---|---|---|---|
| Hand Placement | Prototypes (1-10 units) | No setup cost; easy to fix mistakes. | Very slow; low accuracy; dirty fingers can ruin contacts. |
| Peel-and-Stick Arrays | Mid-Volume (100-10k units) | Domes come pre-arranged on a sticker sheet. Fast manual assembly. | Requires tooling cost to make the sticker array. |
| Pick and Place (SMD) | High Volume (10k+ units) | Extremely fast; automated; very precise. | Requires special “tape and reel” domes; soldering heat profile must be managed. |
The Role of the Actuator
Here is a detail that separates the pros from the amateurs. A bare finger is soft and squishy. A snap dome switch is small and hard. If you just press a flat overlay over a dome, your finger flesh spreads out. You might mash the edges of the dome before you collapse the center. It feels mushy.
To fix this, you need an “actuator.” This is a tiny nub—maybe a dot of UV-cured epoxy or a molded bump on the overlay—that sits directly above the center of the dome. It concentrates all the force from your big squishy thumb into a single point of pressure right on the sweet spot of the switch. It makes the click feel sharp and crisp. If you want to know more about snap dome switch, please read What is a Snap Dome Switch and How Does it Work.
Resource
To ensure your design meets industry standards, consult the following authoritative resources:
- Membrane Switches – Wikipedia: A good breakdown of the layers involved in membrane and dome switch construction.
- Printed Circuit Board Design: General guidelines on pad layout and plating finishes (ENIG vs. HASL).
FAQ
Can I put an LED inside a snap dome switch?
Usually, no. The dome is metal; it blocks light. However, there are special “ring” domes with a hole in the center for an LED, but they are rare and tricky to use. The standard way is to place a small surface-mount LED right next to the dome and use a light pipe or a clear window in the overlay to show the light.
What happens if the overlay is too thick?
If the graphic overlay is too thick or stiff (like thick polycarbonate), it absorbs all the force from your finger. You might press hard, but the force doesn’t reach the snap dome switch underneath. You end up needing to press incredibly hard to get it to work, which frustrates users.
Why does my switch bounce or signal twice?
This is called “switch bounce.” It happens when the metal contacts hit together and vibrate microscopically before settling. While good hardware integration helps (gold plating, good alignment), this is usually solved in software. Your firmware should have “debounce” code that ignores signals that happen too close together (e.g., within 20ms).