
Getting Started with Metal Dome Array Installation
Installing a metal dome array might seem straightforward at first glance. Peel, stick, done—right? Well, not exactly. While the basic concept is simple enough, proper installation requires attention to several details that can make or break the final result.
A poorly installed metal dome array leads to inconsistent tactile feedback, missed keystrokes, and premature failure. Nobody wants to deal with those issues after assembly is complete. Taking time to understand the process properly saves considerable headaches down the road.
The good news is that with proper preparation and technique, even those new to electronics assembly can achieve professional results. It just takes some patience and following the right steps in the right order.
Tools and Materials Needed for Metal Dome Array Installation
Before starting any installation, gathering the necessary supplies prevents frustrating interruptions mid-process.
Essential Tools
- Tweezers (preferably anti-static)
- Isopropyl alcohol (90% or higher concentration)
- Lint-free wipes or cleanroom wipes
- Magnifying glass or microscope for inspection
- ESD-safe work surface
- Roller or squeegee for adhesion
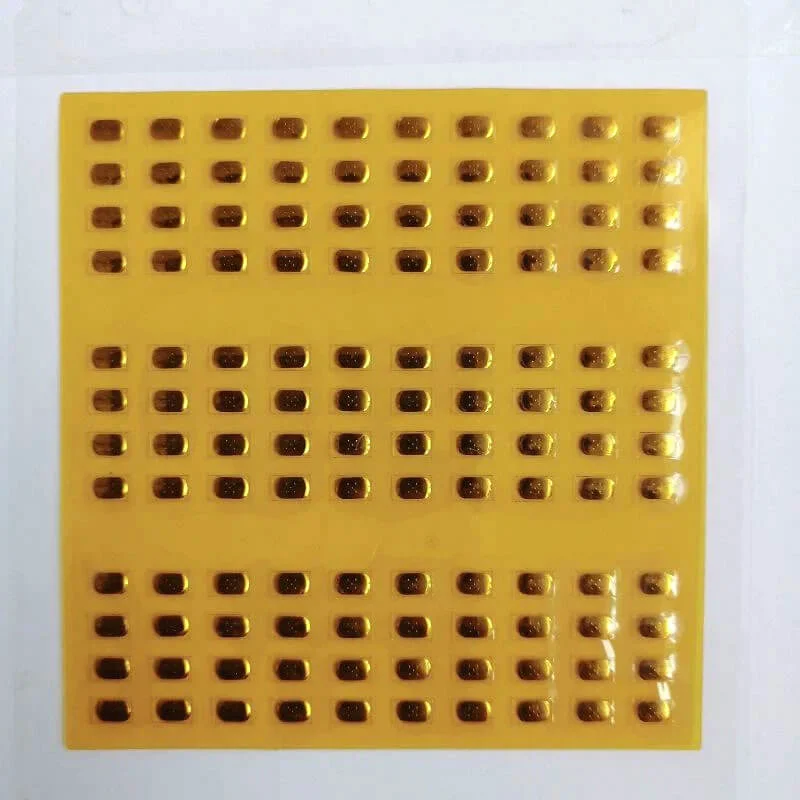
Materials to Have Ready
The metal dome array itself obviously tops the list. Beyond that, having the PCB prepared and accessible matters. Some installations also require additional adhesive layers or spacers depending on the specific design requirements.
Keep the original packaging nearby too. Technical specifications printed on packaging sometimes prove useful during alignment verification.
Pre-Installation Preparation for Your Metal Dome Array
Rushing into installation without proper preparation causes most problems encountered during this process. A few minutes spent on prep work pays dividends.
PCB Surface Cleaning
Contamination is the enemy here. Any dust, oil, or residue on the PCB contact pads interferes with both adhesion and electrical contact. Clean the mounting area thoroughly using isopropyl alcohol and lint-free wipes. Let it dry completely—this part is important. Residual moisture causes adhesion problems.
Visual Inspection
Check the PCB contacts for any obvious defects. Oxidation, scratches, or manufacturing debris should be addressed before proceeding. Similarly, inspect the metal dome array for shipping damage or misaligned domes.
Environmental Considerations
| Factor | Ideal Range | Why It Matters |
|---|---|---|
| Temperature | 20-25°C | Adhesive performs optimally |
| Humidity | 40-60% RH | Prevents static and moisture issues |
| Cleanliness | Controlled environment | Minimizes contamination risk |
| Lighting | Bright, even illumination | Enables proper alignment verification |
Working in conditions outside these ranges isn’t impossible, but results become less predictable. Air conditioning and proper lighting make a noticeable difference.
Step-by-Step Metal Dome Array Installation Process
With preparation complete, the actual installation can begin. Following these steps in sequence produces the best outcomes.
Step 1 : Alignment Verification
Before removing any protective backing, position the metal dome array over the PCB to verify alignment. Each dome should sit directly over its corresponding contact pad. Misalignment even by a millimeter causes problems with switch actuation.
Some arrays include alignment holes or registration marks. Use these if available—they exist for good reason.
Step 2 : Partial Backing Removal
Here’s where technique matters. Don’t peel the entire adhesive backing at once. Instead:
- Peel back approximately one-third of the backing
- Fold it under itself to keep it out of the way
- Align the exposed portion with the PCB
- Tack down the exposed section lightly
This approach allows repositioning if initial placement isn’t perfect. Once the full backing is removed, adjustment becomes much harder.
Step 3 : Progressive Application
With one section tacked down correctly:
- Slowly peel remaining backing while pressing the array onto the PCB
- Work from the secured section outward
- Use a roller or squeegee to eliminate air bubbles
- Apply even pressure across the entire surface
- Pay extra attention to edges and corners
Avoid stretching the carrier film during this process. Stretching distorts dome positioning and creates alignment issues.
Step 4 : Final Pressing
Once fully positioned, apply firm pressure across the entire metal dome array. A roller works well for this. The adhesive needs good contact with the PCB surface to bond properly. Some manufacturers recommend specific pressure levels—check the datasheet if available.
Step 5 : Inspection and Testing
Don’t assume everything went perfectly. Inspect each dome position visually. Then, if possible, perform electrical testing on each switch position. Catching problems now is far easier than after complete device assembly.
Common Installation Mistakes to Avoid
Even experienced technicians occasionally make errors during metal dome array installation. Knowing common pitfalls helps avoid them.
Contamination Issues
Touching the adhesive surface or PCB contacts with bare fingers deposits oils that compromise both bonding and electrical connection. Always use gloves or handle only the edges.
Rushing the Process
Speed often sacrifices quality in this work. Taking an extra few minutes during installation prevents hours of rework later. The adhesive doesn’t set instantly, but repositioning becomes increasingly difficult as time passes.
Improper Storage Before Use
Metal dome arrays stored incorrectly—exposed to humidity, extreme temperatures, or physical pressure—may not perform as expected during installation. Always follow manufacturer storage recommendations.
Post-Installation Care and Verification
Installation doesn’t truly end when the array is in place. A few additional steps ensure long-term success.
After installation, allow the adhesive to cure according to manufacturer specifications. This might take anywhere from a few hours to 24 hours depending on the adhesive type. Avoid mechanical stress on the assembly during this period.
Functional testing should verify:
- Consistent actuation force across all positions
- Proper tactile feedback on each dome
- Reliable electrical contact during switch closure
- No intermittent behavior during repeated testing
Final Thoughts on Metal Dome Array Installation
Proper installation of a metal dome array requires patience, cleanliness, and attention to detail. The process isn’t particularly complex, but cutting corners leads to disappointing results. Following established procedures and taking time to verify each step produces reliable assemblies that perform as expected throughout their service life. If you want to know more about metal dome array, please read about What Is a Metal Dome Array.
FAQ
Can a metal dome array be repositioned after installation?
Limited repositioning is possible immediately after placement, but becomes increasingly difficult as adhesive bonds. Within the first few seconds, careful lifting and realignment may work. After that, attempting removal often damages the array or leaves adhesive residue requiring thorough cleaning.
What happens if air bubbles get trapped during installation?
Small air bubbles may not affect functionality significantly, but larger ones can prevent proper dome seating and cause inconsistent actuation. Using a roller during installation minimizes bubble formation. If bubbles appear, gentle pressure from center outward sometimes pushes them toward edges.
How long should adhesive cure before testing the metal dome array?
Curing time varies by adhesive type, but most reach functional bond strength within a few hours. Full cure often takes 24 hours. Light functional testing can typically occur after initial setup, though mechanical stress should be avoided until complete curing.