
Getting Started with Dome Array Installation
Installing a dome array might sound intimidating at first, but the process is actually more straightforward than most people expect. Whether dealing with a worn-out keyboard or replacing components in a game controller, the basic principles remain fairly consistent across devices.
The tricky part? Patience. Rushing through this kind of repair almost always leads to problems. Bent contacts, misaligned domes, or damaged circuit boards—all avoidable with a careful approach.
Before diving into the actual installation steps, gathering the right tools and understanding what you’re working with makes everything considerably easier. Some preparation upfront saves headaches later.
Tools Required for Dome Array Replacement
Having proper equipment on hand prevents those frustrating mid-project trips to the hardware store.
Essential Tools
- Small Phillips head screwdriver (often #0 or #00)
- Plastic pry tools or spudgers
- Tweezers (preferably anti-static)
- Compressed air canister
- Isopropyl alcohol (90% or higher)
- Lint-free cloths or cotton swabs
- Clean, well-lit workspace
Optional But Helpful Items
Some additional supplies can make the job smoother:
- Magnetic parts tray for screws
- Anti-static wrist strap
- Magnifying glass or headlamp
- Small containers for organizing components
- Camera or phone for documenting disassembly
That last suggestion—taking photos during disassembly—proves invaluable more often than not. Memory gets fuzzy when staring at a pile of tiny parts.
Step-by-Step Dome Array Installation Process
Disassemble the Device
- Disconnect power and remove batteries if applicable
- Flip the device over to access screws
- Remove all visible screws (check under stickers or rubber feet)
- Carefully separate the housing using plastic pry tools
- Document cable connections before disconnecting anything
- Set aside the outer casing
Take special care with ribbon cables. They’re fragile and surprisingly easy to tear. The locking mechanisms on ribbon cable connectors usually flip up rather than pull out.
Remove the Old Dome Array
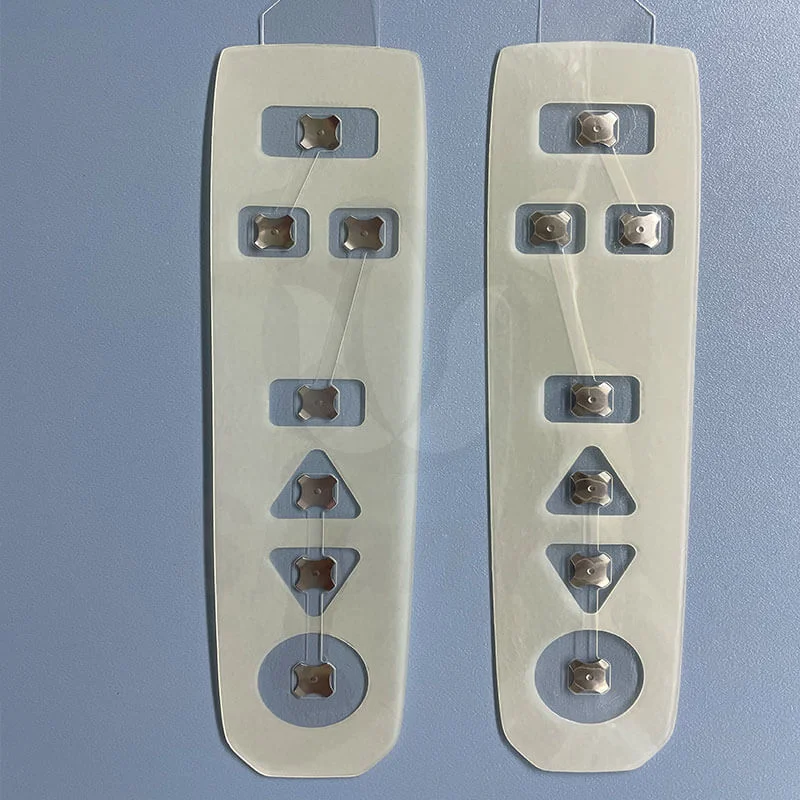
Once inside, locating the dome array should be straightforward. It’s typically a grayish or translucent rubber sheet sitting atop the circuit board.
Gently lift the old dome array from the PCB. Sometimes it sticks slightly due to age or residue. No need to force anything—slow, even pressure works best. If the sheet tears during removal, that’s fine since replacement was the goal anyway.
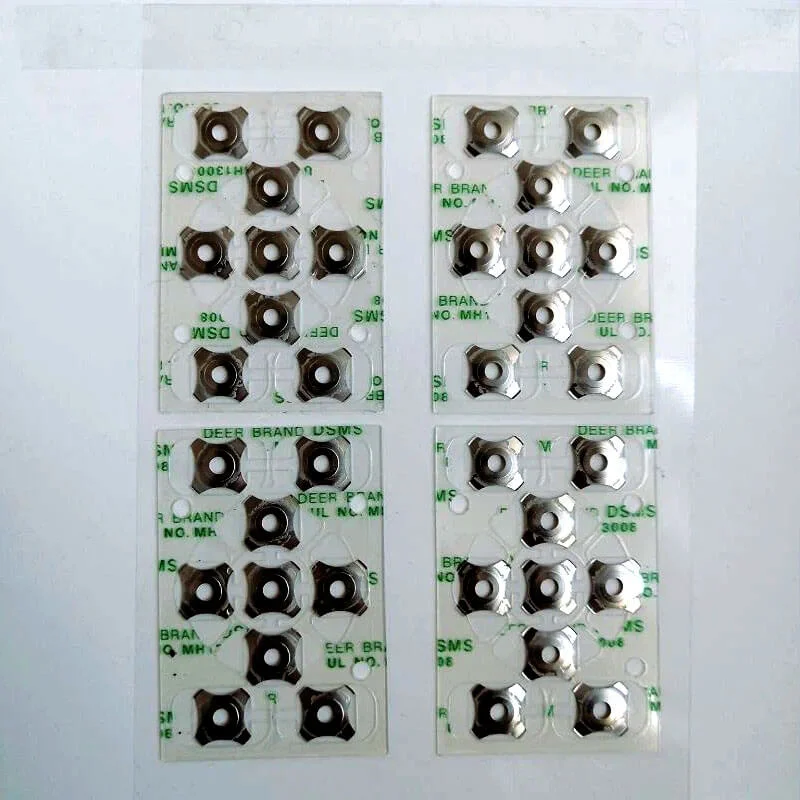
Clean the Contact Surface
This step gets overlooked too often, honestly. Residue on the PCB contacts causes intermittent key failures even with a brand new dome array installed.
Cleaning procedure:
- Spray compressed air to remove loose debris
- Dampen a lint-free cloth with isopropyl alcohol
- Gently wipe all contact points on the PCB
- Use cotton swabs for stubborn spots
- Allow complete drying before proceeding
Position the New Dome Array
Alignment matters tremendously here. The new dome array must sit precisely over the corresponding contact points.
| Alignment Issue | Potential Result |
|---|---|
| Shifted left/right | Multiple keys unresponsive |
| Rotated slightly | Random key malfunctions |
| Upside down | Nothing works at all |
| Wrinkled or bunched | Inconsistent tactile feel |
Reassemble the Device
Reverse the disassembly process, basically. Reconnect cables first, then layer components back together.
- Ensure the dome array remains flat and properly seated
- Reconnect any ribbon cables carefully
- Position the housing halves together
- Insert and tighten screws gradually (don’t fully tighten one before starting others)
- Test functionality before replacing decorative covers or stickers
Common Mistakes When Installing a Dome Array
Rushing the Process
Speed causes most installation failures. Components get damaged, alignment gets ignored, and screws get stripped. Taking an extra fifteen minutes beats ordering another replacement part.
Ignoring Static Electricity
Static discharge damages sensitive electronics. Working on a carpeted floor during dry winter months? That’s asking for trouble. An anti-static wrist strap costs almost nothing and prevents expensive accidents.
Forcing Connections
If something doesn’t fit easily, stop. Reexamine the orientation. Ribbon cables have a correct direction. Dome arrays have a proper side facing up. Forcing components rarely ends well.
Testing After Dome Array Installation
Post-installation testing catches problems before full reassembly.
Press every key or button systematically. Check for:
- Proper tactile feedback
- Consistent actuation force
- No sticking or delayed response
- Correct character output (for keyboards)
Online keyboard testing tools help identify dead keys quickly. Better to discover issues now than after replacing twenty screws.
Wrapping Up the Dome Array Installation Guide
Replacing a dome array falls somewhere between simple and moderately challenging on the repair difficulty scale. The process rewards patience and careful attention to detail. With proper tools and a methodical approach, most people can handle this repair successfully without professional assistance. If you want to know more about dome array, please read about What Is a Dome Array.
Frequently Asked Questions
How do you know when a dome array needs replacement?
Keys feeling mushy, requiring extra force, or failing to register consistently all suggest dome array degradation. Sometimes individual domes simply wear out from heavy use.
Can any dome array fit any keyboard?
Unfortunately no—dome arrays are device-specific. Purchasing the exact replacement for your particular model prevents compatibility headaches entirely.
Is professional repair worth considering instead?
For expensive equipment or limited technical confidence, professional service makes sense. However, most dome array installations remain manageable for anyone comfortable with basic electronics work.