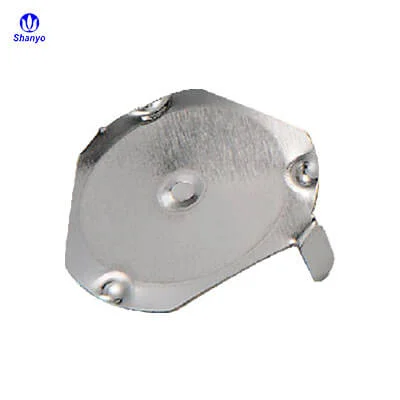
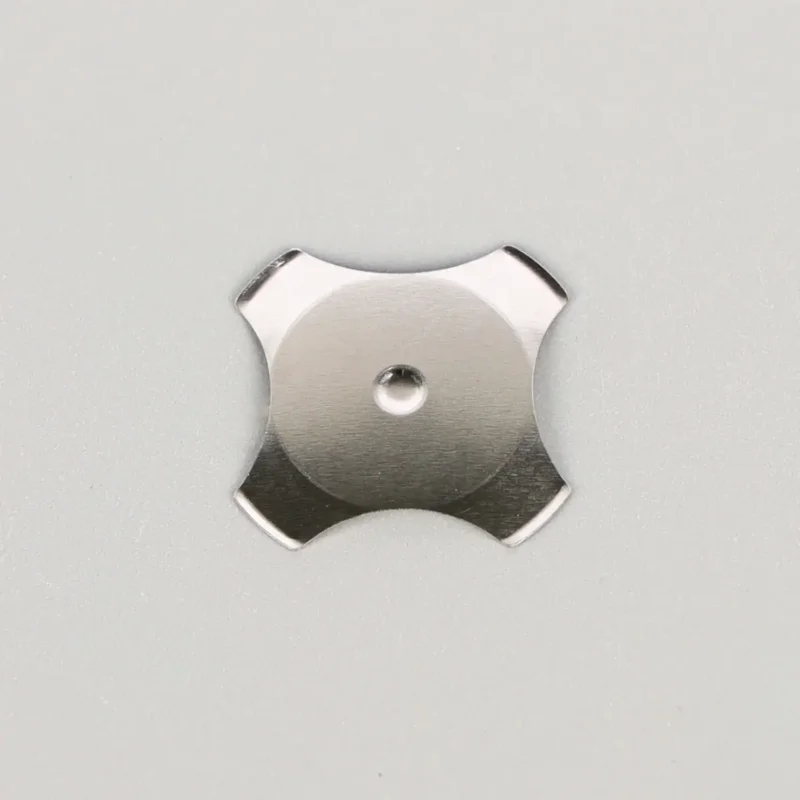
Understanding Snap Dome Force Measurement Basics
Getting accurate force measurements from a snap dome seems straightforward enough—push down and record the number. Reality proves more complicated. Variables like speed, angle, temperature, and equipment calibration all influence results. Two people testing the same dome can get noticeably different readings if their methods differ.
Force values matter because they directly affect user experience and product reliability. Too light and buttons activate accidentally. Too heavy and users complain about fatigue or unresponsive feel. Manufacturers specify force ratings, but verifying those specs requires proper measurement technique.
The tactile feedback people expect from quality switches depends on consistent force characteristics across every single dome in production. Which makes accurate measurement not just a technical exercise, but a quality control necessity.

Equipment Required for Snap Dome Force Testing
Proper tools make the difference between meaningful data and guesswork. Consumer-grade equipment won’t cut it for serious testing.
Force Gauges and Load Cells
The heart of any force measurement setup is the sensing element itself. Options range from basic mechanical gauges to sophisticated digital systems.
| Equipment Type | Accuracy Range | Best Application | Approximate Cost |
|---|---|---|---|
| Mechanical Push Gauge | ±2-5% | Quick spot checks | $100-300 |
| Digital Force Gauge | ±0.5-1% | Quality inspection | $500-1,500 |
| Motorized Test Stand | ±0.25-0.5% | Production testing | $2,000-8,000 |
| Precision Load Cell System | ±0.1% | Laboratory analysis | $5,000-20,000 |
For snap dome applications specifically, resolution matters as much as accuracy. Domes typically actuate between 100-500 grams force. A gauge that only resolves to 50-gram increments won’t capture the nuances.
Test Fixtures and Probes
The probe tip that contacts the dome crown deserves attention. Standard recommendations call for:
- Hemispherical tip matching dome center contact area
- Hardened material that won’t deform under repeated use
- Smooth surface finish to avoid friction variations
- Diameter appropriate for dome size being tested
Fixtures hold the snap dome or complete assembly in consistent position. Any movement during testing introduces error. Rigid mounting and repeatable positioning are essential.
Data Acquisition Systems
Beyond just peak force, understanding dome behavior requires capturing the complete force-displacement curve. This means:
- Continuous data sampling during actuation
- Position tracking synchronized with force data
- Software capable of identifying key curve features
- Storage and analysis capabilities for statistical evaluation
The characteristic snap dome force curve shows force building, then suddenly dropping at the actuation point. That drop—the tactile ratio—defines the click feel. Measuring only peak force misses half the story.

Proper Technique for Snap Dome Measurement
Speed and Rate Control
How fast the probe descends significantly affects measured values. Faster speeds typically yield higher readings due to dynamic effects. Most standards specify rates between 1-10 mm per second for snap dome testing.
Consistency matters more than the specific speed chosen. Testing one batch at 2 mm/sec and another at 8 mm/sec makes comparison meaningless.
Alignment and Contact Point
The probe must contact the dome crown dead center. Off-center contact changes the force distribution and produces inaccurate readings. Even small misalignments—a millimeter or two—noticeably affect results on smaller domes.
Achieving proper alignment involves:
- Visual centering before each test
- Using alignment fixtures for production testing
- Checking for probe perpendicularity to dome surface
- Verifying fixture positioning hasn’t shifted
Environmental Considerations
Temperature affects metal spring properties. A snap dome measured at 15°C will show different characteristics than the same dome at 35°C. Not dramatically different, but enough to matter for tight specifications.
Humidity plays less direct role but can affect adhesives and cause corrosion over time. Standardized testing environments—typically around 23°C and 50% relative humidity—ensure comparable results across different times and locations.
Key Snap Dome Force Parameters to Measure
Several distinct values characterize dome performance. Understanding what each represents helps focus measurement efforts appropriately.
Actuation Force
The maximum force reached just before the dome snaps through. This value appears most commonly in specifications and represents what users feel as resistance before the click.
Contact Force
The force at which electrical contact actually occurs. Usually happens at or just after the snap-through point. Critical for electrical reliability testing.
Tactile Ratio
Calculated from actuation and contact force values, tactile ratio quantifies click intensity. Higher ratios mean more pronounced tactile feedback. Different applications call for different ratios—some users prefer subtle clicks, others want definitive feedback.

Common Snap Dome Measurement Errors and Solutions
Even experienced technicians encounter measurement problems. Recognizing common issues speeds troubleshooting.
Problems frequently observed include:
- Inconsistent readings – Usually indicates loose fixtures, variable speed, or probe alignment issues
- Values outside specifications – May reflect actual dome problems or measurement setup errors
- Missing snap-through detection – Sampling rate too slow to capture rapid force drop
- Drift over test session – Temperature changes or load cell drift requiring recalibration
If you want to know more about snap domes, please red about What Is a Snap Dome and How Does It Work?
FAQ
How often should force measurement equipment be calibrated?
Calibration frequency depends on usage intensity and accuracy requirements. High-volume production testing typically calls for daily verification against reference weights, with full calibration monthly or quarterly. Laboratory equipment used occasionally might need formal calibration annually, though verification before each use session remains advisable. Equipment manufacturers provide specific recommendations worth following.
Can snap dome force be measured after installation in an assembly?
Yes, though results reflect the complete assembly rather than the dome alone. Overlay materials, actuator friction, and mounting conditions all contribute to measured values. This actually provides useful information—it represents what users actually experience. However, comparing against bare dome specifications requires testing domes before assembly.
What causes force values to vary between domes from the same production batch?
Manufacturing tolerances in dome forming create inherent variation. Metal thickness, forming die condition, and material properties all contribute. Quality suppliers typically hold variation within ±15-20% of nominal values. Wider variation suggests process control issues. Storage conditions and handling damage can also introduce variation after manufacturing.
