
When Membrane Switch Replacement Becomes Necessary
Buttons stop responding. Some work intermittently. Others require excessive force. These symptoms often signal that a メンブレンスイッチ has reached the end of its useful life. Repair attempts might work temporarily, but replacement eventually becomes the practical solution.
The good news? Replacing a membrane switch isn’t particularly difficult. With proper preparation and reasonable care, most people can handle the job successfully. Equipment downtime stays minimal. Costs remain manageable.
Understanding the process beforehand makes everything smoother. Rushing leads to mistakes—damaged connectors, misaligned installations, or even harm to surrounding components.
Tools and Materials Needed for Membrane Switch Replacement
Essential Tools
Most replacements require only basic tools:
- Plastic pry tools or old credit cards
- Isopropyl alcohol (90% or higher)
- Lint-free cloths or wipes
- Heat gun or hair dryer
- Screwdrivers appropriate for the equipment
- Tweezers for connector handling
Avoid metal scrapers or sharp tools near sensitive electronics. Plastic works better and risks less damage.
Replacement Parts
Obviously, the new membrane switch itself. But ensure compatibility before ordering:
- Match part numbers exactly when possible
- Verify connector type and pin count
- Confirm physical dimensions
- Check mounting method compatibility
Some membrane switches appear similar but differ in subtle ways—connector orientation, circuit layout, or mounting hole positions. Getting the wrong replacement wastes time and money.
Optional But Helpful Items
Depending on the specific equipment:
- Camera or phone for documentation photos
- Masking tape for labeling
- Compressed air for cleaning
- Anti-static wrist strap
- Magnifying glass for inspection
Documentation photos prove invaluable when reassembling. What seemed obvious during disassembly becomes mysteriously unclear during reassembly.
Preparation Steps Before Membrane Switch Removal
Safety First
Always disconnect power before beginning. This means:
- Unplugging equipment from power sources
- Removing batteries if applicable
- Waiting for capacitors to discharge in high-voltage equipment
- Verifying power is truly off
Electronics and exposed circuits don’t mix well with connected power. Obvious advice, but easy to overlook when focused on the task.
Documentation
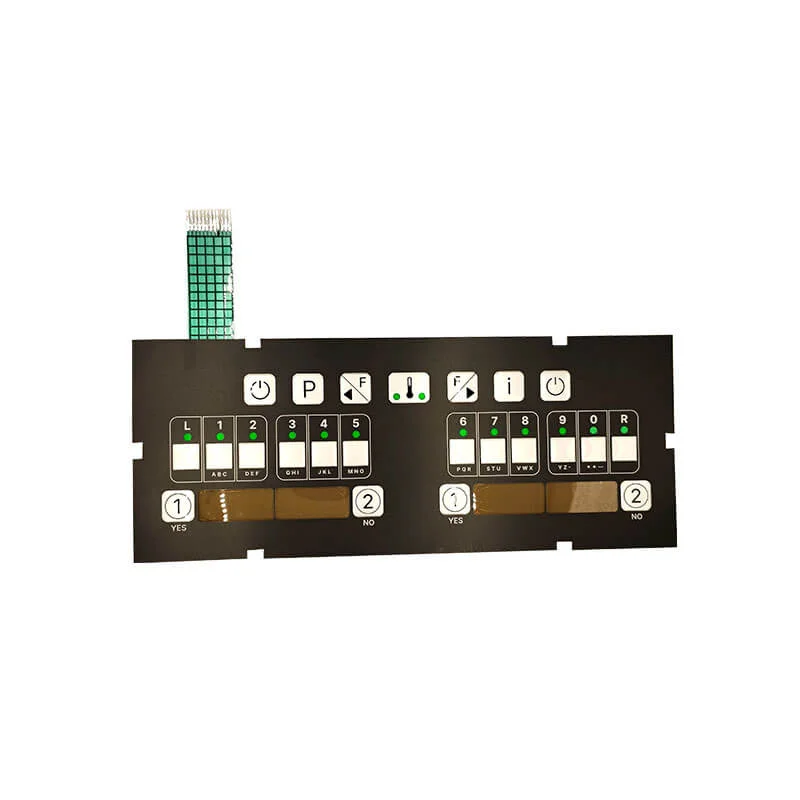
Before touching anything, photograph the existing installation from multiple angles. Capture:
- Overall switch position and orientation
- Connector routing and attachment
- Any mounting screws or clips
- Wire routing if present
These references become essential when questions arise during installation. Memory proves unreliable for details.
Workspace Setup
Work in a clean, well-lit area. Static electricity damages sensitive electronics—consider anti-static precautions for vulnerable equipment. Have adequate space to organize removed components and hardware.
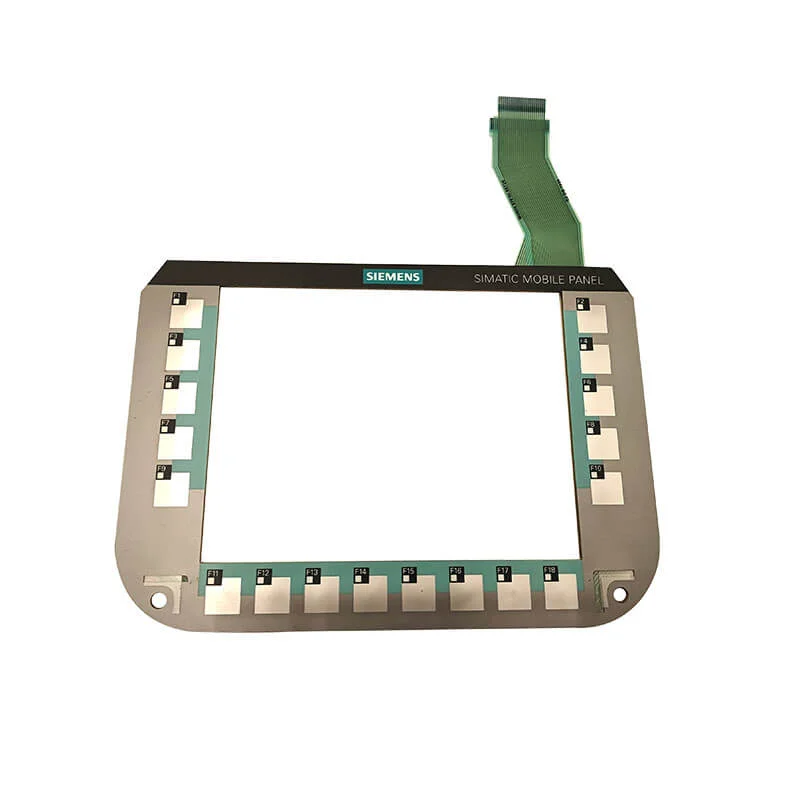
Installing the New Membrane Switch Properly
Dry Fitting First
Before removing any protective backing from adhesive, position the new switch to verify fit. Check that:
- Mounting holes align correctly
- Connector reaches the receptacle
- Display windows match screen positions
- Edges sit properly within housing
Discovering fit problems after committing adhesive creates headaches. Dry fitting takes moments and prevents frustration.
Connector Attachment
Connect the tail before final adhesive attachment whenever possible. This approach offers better visibility and access for proper insertion.
For ZIF connectors:
- Open the locking mechanism fully
- Align the tail with connector guides
- Insert to proper depth—usually marked
- Close the locking mechanism
- Verify secure connection
Gentle handling matters here. The flexible tail and connector are relatively fragile.
Adhesive Application
With connections verified, peel protective backing gradually while pressing the membrane switch into position. Work from one edge to the other, smoothing as you go.
Avoid trapping air bubbles—they’re visible through the overlay and look unprofessional. Slow, steady pressure beats fast, careless application.
Some installations benefit from starting at the center and working outward. Others work better corner-to-corner. The switch geometry often suggests the best approach.
Final Pressing
Once positioned, apply firm, even pressure across the entire surface. Some technicians use rollers designed for this purpose. Clean, flat objects work adequately for occasional replacements. Pay extra attention to edges and corners where adhesive bond failure typically begins. If you want to know more about membrane switch, please read メンブレン・スイッチとは.
よくあるご質問
Can any membrane switch replacement be done without professional help?
Most consumer and light industrial equipment allows DIY membrane switch replacement with basic tools and reasonable care. However, medical devices, safety-critical equipment, and complex industrial systems often require professional service for warranty, certification, or safety reasons. When in doubt, consult manufacturer recommendations. Equipment with high-voltage components or specialized calibration requirements typically warrants professional attention rather than DIY attempts.
How do you find the correct replacement membrane switch?
Start with manufacturer part numbers printed on the original switch or found in equipment documentation. Equipment model numbers help suppliers identify compatible replacements. For obsolete equipment, aftermarket suppliers sometimes offer compatible alternatives. Providing detailed measurements, photos, and connector specifications helps when exact part numbers aren’t available. Some manufacturers offer custom membrane switch production matching original specifications when standard replacements don’t exist.
What happens if the new membrane switch doesn't work after installation?
First, verify proper connector seating—this causes most post-installation failures. Check that the correct replacement was installed and orientation is proper. Inspect for visible damage to the tail connector or circuit traces. If everything appears correct, the replacement might be defective—quality manufacturers accept returns for faulty products. Rarely, the underlying circuit board has damage that wasn’t obvious, requiring further diagnosis beyond simple membrane switch replacement.