The Growing Role of Dome Array Technology in Medical Device Interfaces
Medical devices keep getting smaller. That’s not exactly news. But what’s interesting is how the interface — the part the operator actually touches — has to keep up with that shrinking footprint without losing any functionality. That’s where a ドームアレイ becomes genuinely useful.
Rather than placing individual metal domes one by one onto a circuit board, a dome array groups multiple domes onto a single sheet. It sounds simple, and in a way it is. But the impact on design efficiency, assembly time, and overall device reliability is hard to overstate. Especially in medical environments where compact doesn’t get to mean compromised.

What a Dome Array Actually Is and How It Works
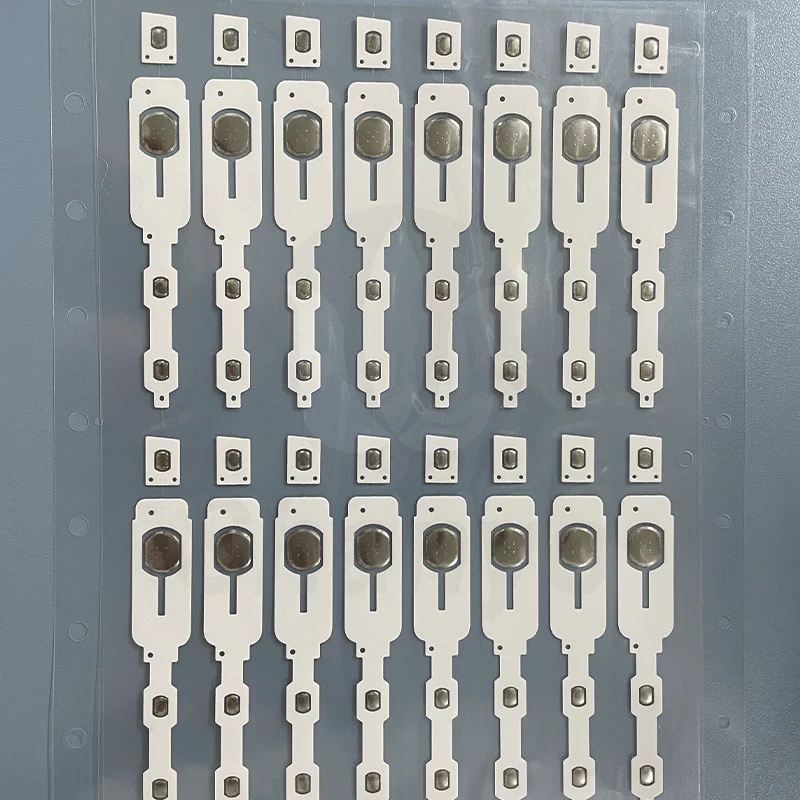
A dome array is essentially a pre-arranged sheet — usually polyester or polyimide — with multiple metal domes held in precise positions by an adhesive layer. Each dome sits directly above its corresponding contact pad on the PCB. When a user presses a button, the dome beneath it collapses, makes contact, and springs back once released.
The whole thing functions as a single component during assembly, even though it contains multiple independent switch points. That’s the real advantage. One placement step covers what might otherwise require dozens of individual dome insertions.
Core Components of a Typical Dome Array
A base adhesive layer that bonds the array to the PCB
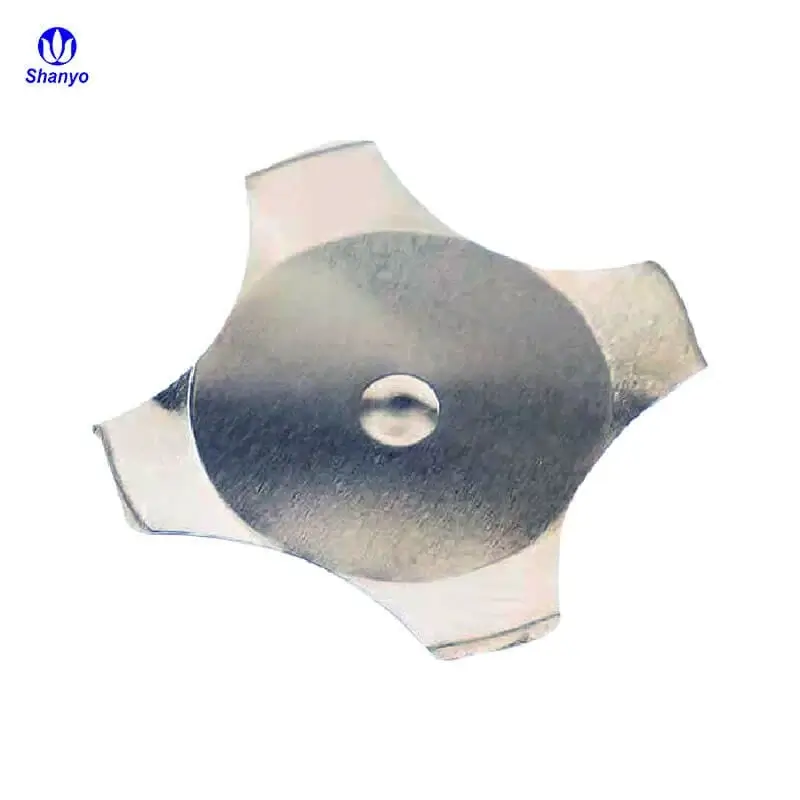
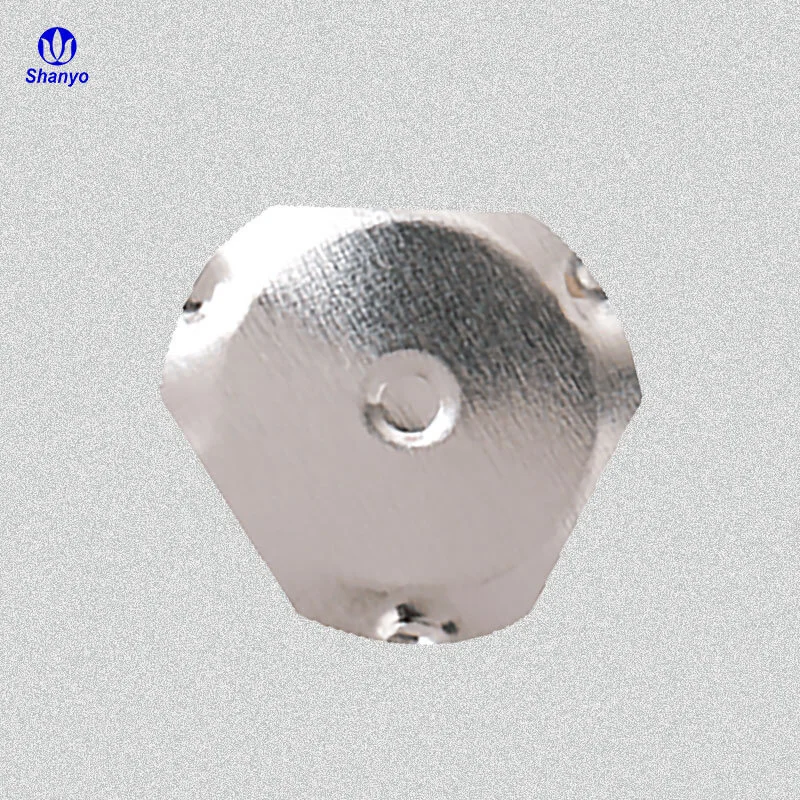
Metal domes (stainless steel, typically 301 grade) positioned at each switch location
A top layer — often polyester — that holds everything in alignment
Optional spacer layers to control travel distance and actuation feel
Vent holes to manage air pressure during actuation
Each of these layers plays a role in how the finished interface feels and performs. Get one wrong, and the tactile response across the whole panel can feel inconsistent.
Why Dome Array Design Matters for Compact Medical Interfaces
Space is always at a premium in medical devices. Bedside monitors, handheld diagnostic tools, infusion pumps — they all need multiple input points packed into a small area. A dome array lets engineers consolidate those inputs without stacking up discrete components or adding mechanical complexity.
Multi-Function Integration in Limited Space
Here’s what makes this approach practical for medical interfaces. A single dome array can support:
Primary function buttons like start, stop, and confirm.
Navigation controls — arrows or directional inputs for menu systems.
Mode selection switches for toggling between operational states.
Volume or alert adjustment points.
All of that, on one sheet, aligned to one PCB layout. The result is a cleaner stack-up, fewer parts to manage during production, and a more predictable assembly process.
Consistency Across the Interface
One thing that tends to get overlooked is how a dome array in medical applications helps maintain uniform tactile feedback across every button on a device. Because all the domes come from the same production batch and sit on the same substrate, the feel is consistent from one switch point to the next. For a clinician pressing buttons quickly during a procedure, that uniformity matters more than most people realize.
Dome Array Performance Comparison Across Medical Applications
| 申し込み |
Typical Dome Count |
Actuation Force Range |
Key Design Priority |
|---|---|---|---|
Patient monitors |
10–20 |
150–260 gf |
Consistent feel across many keys |
Infusion pumps |
5–12 |
180–300 gf |
Deliberate actuation to prevent errors |
Handheld diagnostics |
4–8 |
120–200 gf |
Compact layout, light touch |
Ventilator controls |
8–15 |
200–350 gf |
Glove-friendly, high tactile clarity |
Assembly and Integration of a Dome Array in Device Manufacturing
From a production standpoint, working with a dome array simplifies things considerably. The typical integration process looks something like this:
The PCB is prepared with contact pads matching the dome array layout.
The dome array — already assembled as a single laminated sheet — is aligned and placed onto the board.
Adhesive layers bond the array in position without additional fasteners.
Functional testing confirms each dome actuates correctly and registers on the circuit.
No soldering. No individual dome placement. That reduction in handling steps also means fewer opportunities for contamination or misalignment, which is particularly relevant in cleanroom or controlled manufacturing environments.
よくあるご質問
Can a single dome array support buttons with different actuation forces?
Yes. It’s common to use domes of varying sizes or shapes within the same array. A four-leg dome might sit under a critical confirm button for a firmer press, while a smaller three-leg dome handles lighter navigation inputs — all on one sheet.
How does a dome array hold up under repeated sterilization?
The polyester or polyimide top layers used in most dome array constructions resist common medical disinfectants well. When properly sealed, the array can withstand regular wipe-down protocols without degradation to the adhesive or dome positioning.
Is it possible to redesign a dome array for an existing product without changing the PCB?
In many cases, yes. As long as the contact pad locations remain the same, the dome array can be reconfigured — adjusting dome type, force rating, or layer materials — without requiring a new PCB layout. That flexibility is one of the reasons the format remains so popular in iterative medical device development.