Comprender los requisitos de los domos para los botones de la consola central
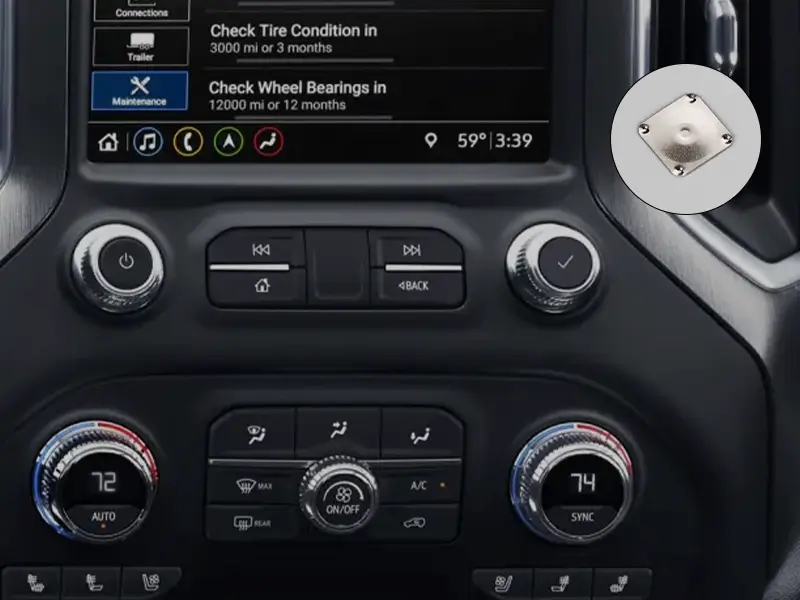
Las consolas centrales se han vuelto cada vez más complejas en la última década. Lo que antes era un simple grupo de controles de climatización y audio, ahora lo gestiona todo, desde los modos de conducción hasta la calefacción de los asientos, los sensores de aparcamiento y los accesos directos de infoentretenimiento. La cúpula que hay detrás de estos botones debe dar cabida a una amplia gama de funciones -a veces 20 o más entradas- en un espacio compacto.
Diseñar un cúpula para esta aplicación no se trata sólo de elegir el tamaño de cúpula adecuado y darlo por hecho. La consola central se encuentra en una zona muy transitada del habitáculo. Los conductores y pasajeros interactúan con ella constantemente, a menudo sin mirar. Eso significa que la respuesta táctil tiene que ser intuitiva y coherente en todas las posiciones de los botones.
Por qué las consolas centrales plantean retos de diseño únicos
En comparación con los mandos del volante o los paneles superiores, los módulos de botones de la consola central tienden a ser más grandes y a estar más concentrados. El conjunto de domos tiene que abarcar un área mayor manteniendo una alineación precisa de domo a domo. Cualquier pequeño desplazamiento durante el montaje puede alterar la sensación de varios botones a la vez.
También está el factor ergonómico. Los botones situados cerca de la parte superior de la consola se pulsan en un ángulo diferente que los situados cerca de la parte inferior. Es posible que la fuerza de accionamiento necesite una sutil variación en el conjunto para tener en cuenta cómo llega la mano de forma natural a cada posición. Es un detalle fácil de pasar por alto, pero que se nota cuando está mal.
Selección de las especificaciones adecuadas para el domo
Curvas de fuerza y sensación de accionamiento
La relación de chasquido -la relación entre la fuerza máxima y la fuerza de contacto- determina en gran medida la “sensación” de un botón para el usuario. Para aplicaciones de consola central, una relación de chasquido entre 40% y 60% suele funcionar bien. Demasiado nítido y parece frágil; demasiado blando y parece blando.
Las especificaciones más comunes para las cúpulas de consola central incluyen:
| Parámetro | Alcance típico | Notas |
|---|---|---|
Diámetro de la cúpula | 6 mm - 10 mm | Cúpulas más grandes para los controles primarios |
Fuerza de accionamiento | 200 g - 450 g | Varía según la función del botón |
Ratio de chasquido | 40% - 60% | Relación más alta = sensación más nítida |
Distancia de viaje | 0,15 mm - 0,25 mm | Recorrido más corto para diseños enrasados |
Ciclo de vida | 2-5 millones de ciclos | Los botones climáticos suelen especificar más alto |
Temperatura de funcionamiento | -40°C a 85°C | Gama estándar de automoción |
Elección del material y del sustrato
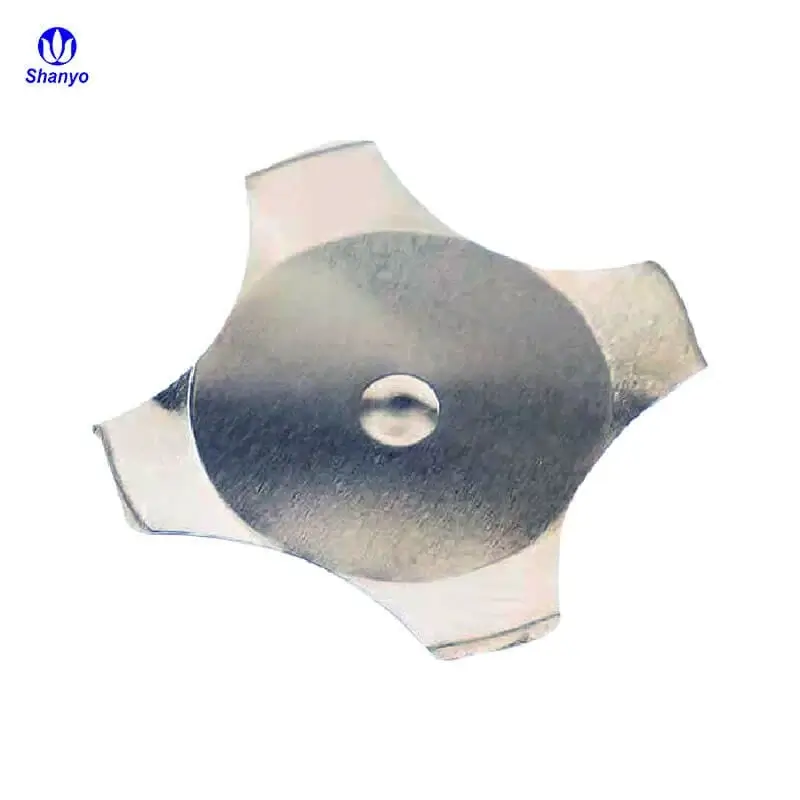
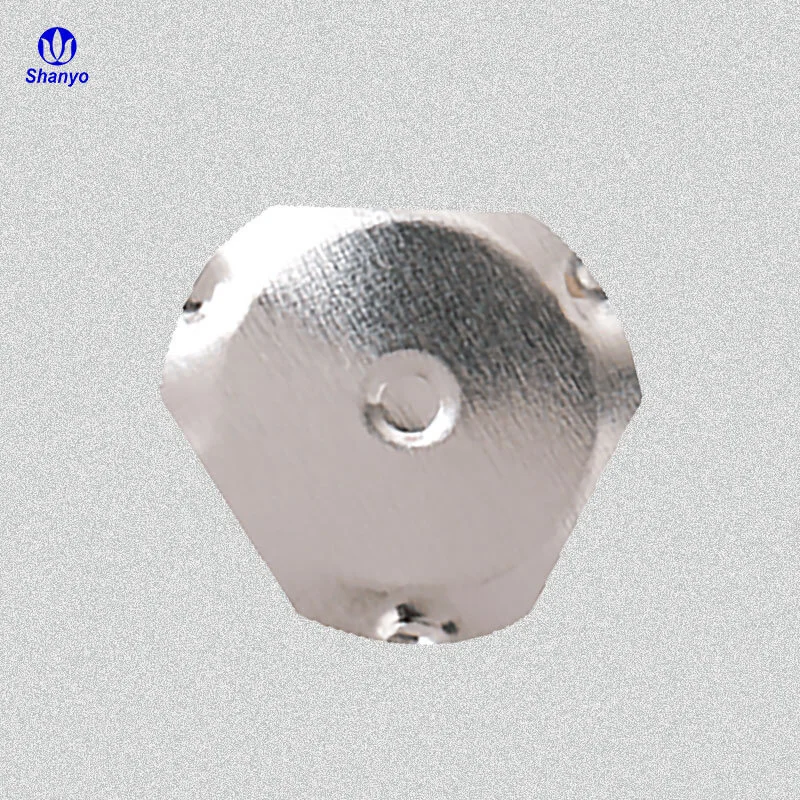
El acero inoxidable sigue siendo el material preferido para las cúpulas propiamente dichas: el grado 301 es el más habitual, aunque en algunas aplicaciones se utiliza el 304 para mejorar la resistencia a la corrosión. El sustrato (normalmente película de PET) mantiene las cúpulas en su posición y proporciona la interfaz adhesiva con la placa de circuito impreso o la capa de membrana inferior.
Para las aplicaciones de consola central, destacan algunas consideraciones relativas a los materiales:
El grosor del sustrato suele oscilar entre 0,05 mm y 0,1 mm
La selección del adhesivo debe tener en cuenta los requisitos de desgasificación (importante para la calidad del aire de la cabina).
Algunos diseños de domos incorporan orificios de ventilación para evitar que el aire quede atrapado durante el accionamiento.
Puede ser necesario utilizar materiales resistentes a los rayos UV si la consola recibe luz solar directa.
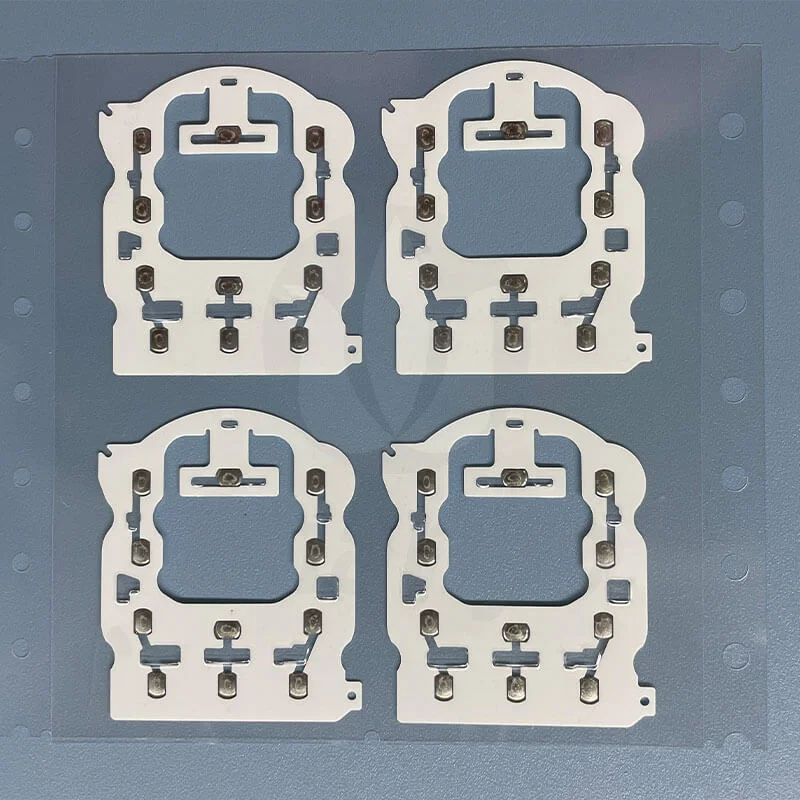
Prácticas recomendadas de disposición y alineación de arrays de domos
Posicionamiento de las cúpulas respecto a las tapas de los botones
Centrar la cúpula debajo de cada tapa de botón parece sencillo, pero las tolerancias se acumulan rápidamente. El conjunto de domos, la carcasa, la placa de circuito impreso y las tapas de los botones tienen sus propias variaciones dimensionales. Un sistema de domos bien diseñado tiene esto en cuenta mediante la incorporación de funciones de alineación: orificios de registro, marcas de referencia o recortes moldeados que se encajan en la carcasa.
El proceso general de diseño sigue una secuencia lógica:
Definir las posiciones de los botones en función del diseño industrial
Establezca las ubicaciones de la cúpula con la distancia adecuada a los bordes del conjunto.
Añada características de registro que coincidan con el utillaje de la carcasa o la placa de circuito impreso
Especifique las zonas adhesivas para evitar interferencias con el accionamiento de la cúpula
Validación de la tolerancia de apilamiento en todos los componentes acoplados
Manejo de cúpulas de distintos tamaños en una misma matriz
No es raro que un conjunto de cúpulas de consola central incluya dos o incluso tres tamaños de cúpula diferentes. De hecho, una domo array en aplicaciones de automoción suele mezclar tamaños para equilibrar el coste y la experiencia del usuario en varias funciones. Los controles primarios, como la temperatura del climatizador, pueden usar una cúpula de 9 mm para una sensación más sustancial, mientras que los botones secundarios tienen cúpulas de 6 mm. Esto funciona bien siempre que el diseño del sustrato se adapte a las diferentes alturas de las cúpulas y las curvas de fuerza sigan siendo distinguibles para el usuario.
La transición entre tamaños de cúpula en un sustrato compartido requiere una separación cuidadosa. Las cúpulas colocadas demasiado cerca unas de otras, sobre todo si son de distintos tamaños, pueden interferir en las características de accionamiento de las demás. Un espacio mínimo de 2 mm entre los bordes de las cúpulas es un punto de partida razonable, aunque más es mejor si el espacio lo permite.
Errores comunes en el diseño del domo de la consola central
Algunos problemas aparecen repetidamente en todos los proyectos, y vale la pena señalarlos. Uno de ellos es la ventilación insuficiente: el aire atrapado bajo una cúpula puede alterar la curva de fuerza y crear una sensación incoherente. Otro problema frecuente es la especificación de un adhesivo demasiado agresivo, lo que hace casi imposible la revisión durante el montaje.
Luego está el tema de los ciclos de temperatura. Las consolas centrales experimentan variaciones térmicas significativas, especialmente en vehículos aparcados a la luz directa del sol. Una cúpula que funciona perfectamente a temperatura ambiente puede mostrar una ligera desviación de la fuerza a 80 °C si el material del sustrato no se ha elegido con cuidado. Realizar pruebas en todo el rango de temperaturas al principio del desarrollo ahorra dolores de cabeza más adelante.
PREGUNTAS FRECUENTES
¿Cuántas cúpulas puede soportar un solo conjunto de cúpulas para aplicaciones de consola central?
La mayoría de los conjuntos de domos de consola central manejan entre 10 y 30 domos individuales en un único sustrato. El límite práctico depende de las dimensiones físicas de la consola y de la separación mínima necesaria entre las cúpulas. Los conjuntos más grandes pueden dividirse en dos o tres secciones para facilitar el montaje y reducir el impacto de la dilatación térmica.
¿Se puede rediseñar una cúpula sin cambiar la carcasa de la consola central?
En muchos casos, sí. Si las características de registro y el esquema general siguen siendo los mismos, el conjunto de domos puede revisarse -cambiando el tamaño, la fuerza nominal o la posición de los domos- sin modificar el utillaje de la carcasa. Esta flexibilidad es una de las ventajas prácticas de la tecnología de domos durante la fase de desarrollo.
¿Cuál es la causa de la sensación inconsistente de los botones en un módulo de consola central?
Varios factores contribuyen a ello. La causa más común es la desalineación entre la cúpula y las tapas de los botones. También pueden influir una aplicación desigual del adhesivo, variaciones en la geometría de las tapas de los botones y una planitud irregular de la placa de circuito impreso. Un análisis exhaustivo de la tolerancia de apilamiento durante la fase de diseño suele evitar que estos problemas lleguen a la producción.