Сайт купольный массив Сам по себе он может быть идеально спроектирован. Правильная форма, правильный материал, идеальная кривая силы. Все это не имеет значения, если установка идет неправильно. Небольшое смещение, загрязненная клеевая поверхность или небрежное обращение могут превратить первоклассный компонент в проблему надежности, которая только и ждет своего часа.
Установка кажется простой - отклеить подложку, приклеить, готово. И, честно говоря, для простых прототипов с допустимыми отклонениями такой простой подход часто работает отлично. Но для серийной сборки или любого другого применения, где важно ощущение кнопки и ее долговечность, требуется больше внимания. Небольшие детали при установке превращаются в большие различия в готовом изделии.
Разрыв между знанием того, что купольная матрица должна быть размещена на печатной плате, и знанием того, как правильно ее установить, гораздо шире, чем многие предполагают до первой попытки.

Подготовка печатной платы перед установкой купольного массива
Чистота поверхности
Прочность клеевого соединения полностью зависит от состояния поверхности. Печатная плата, только что собранная, выглядит достаточно чистой на вид, но на ней, вероятно, присутствуют остатки флюса, масла от отпечатков пальцев или мелкие частицы пыли. Любые из них ухудшают адгезию.
Правильная очистка включает в себя:
- Протирка изопропиловым спиртом (предпочтительна концентрация 90% или выше)
- Безворсовая ткань или салфетки для чистых помещений - не бумажные полотенца
- Время полного высыхания перед установкой купольной решетки
- Избегайте контакта голых рук с очищенными участками после уборки
Особенно проблематичны остатки флюса. Флюс без очистки, несмотря на название, оставляет остатки, которые со временем ослабляют чувствительные к давлению клеи. Если плата подвергалась пайке, очистка области крепления купольной матрицы не является необязательной, она необходима.
Визуальный осмотр
Прежде чем что-либо устанавливать, осмотрите контактные площадки печатной платы. Ищите:
- Брызги или мостики припоя вблизи площадок
- Царапины или загрязнения на контактных поверхностях
- Ошибки в размещении компонентов, которые могут помешать позиционированию купола
- Правильная схема накладок, соответствующая расположению купольного массива
Выявление проблем теперь занимает секунды. Обнаружение их после того, как массив купола опущен, требует доработки или утилизации сборки.
Методы перемещения и размещения купольных массивов
Меры предосторожности при обращении
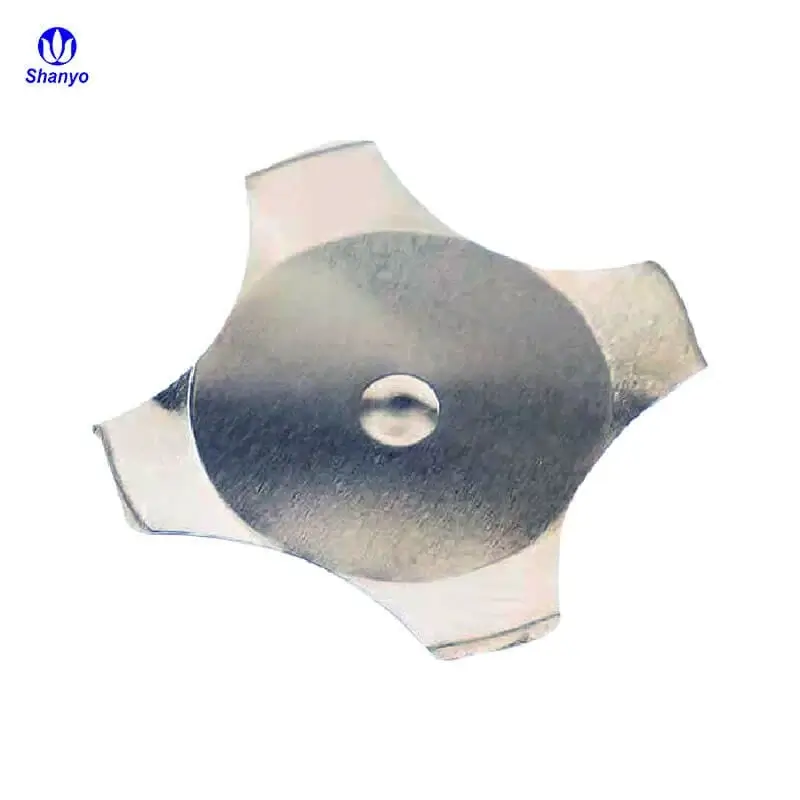
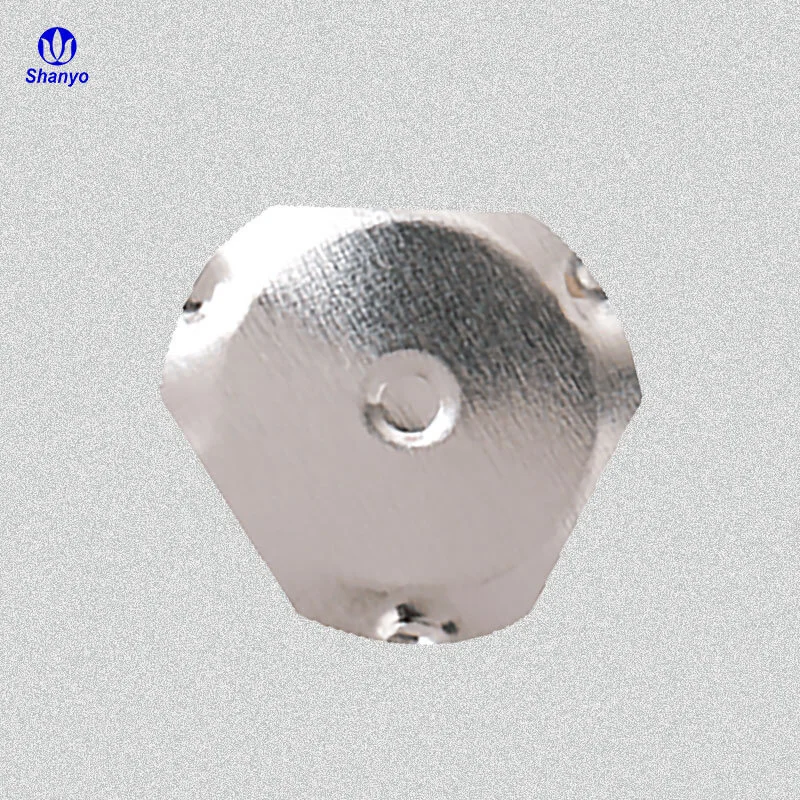
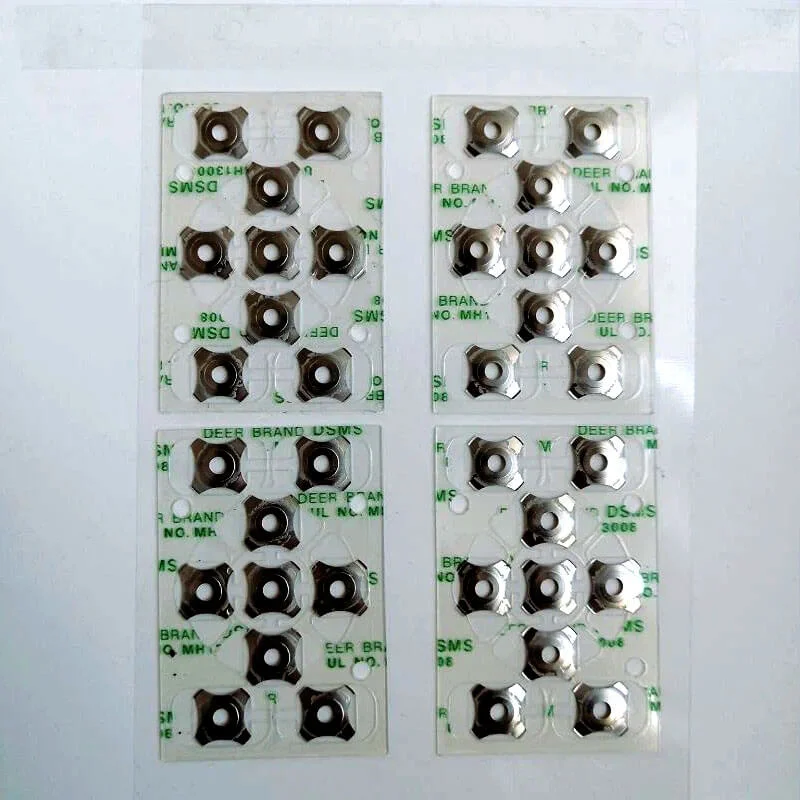
Купольные массивы более хрупкие, чем кажется. Металлические купола свободно сидят в карманах, удерживаемые клейким слоем. Неосторожное обращение может сместить купола со своих мест или слегка деформировать их - в любом случае это сказывается на тактильных ощущениях.
Лучшие методы работы:
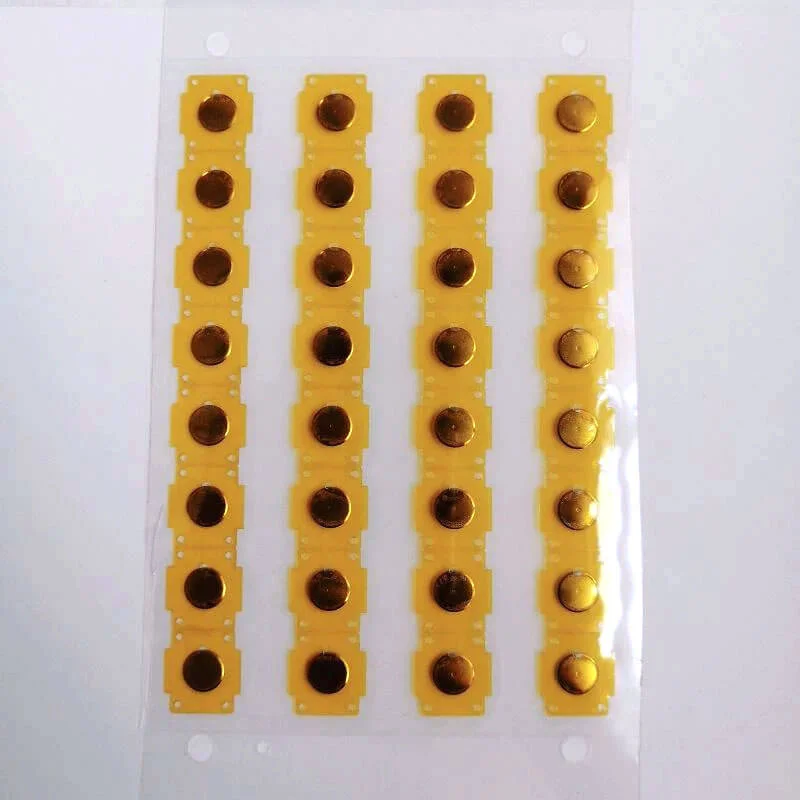
- Сохраняйте купольные массивы плоскими при хранении и транспортировке
- Избегайте сгибания или разгибания несущего листа
- Не прикасайтесь к поверхностям купола голыми пальцами
- Хранить в оригинальной упаковке до готовности к установке
- Контролируйте влажность и температуру окружающей среды, если клей чувствителен
Перчатки помогут, но лучше тонкие нитриловые или виниловые, а не толстые рабочие перчатки. Цель - предотвратить перенос кожного жира, сохранив при этом достаточную ловкость рук для точного размещения.
Методы выравнивания
Точное расположение куполов на контактных площадках имеет большое значение для стабильной работы переключателя. Несоответствие даже на миллиметр может сместить контактную площадку, что повлияет на сопротивление и тактильные ощущения.
Общие подходы к выравниванию включают:
- Отверстия для инструментов совпадают с монтажными отверстиями печатной платы
- Выравнивание краев относительно границ печатной платы
- Визуальное выравнивание с помощью контрольных меток
- Специальные приспособления для размещения при больших объемах производства
Отверстия в инструментах работают хорошо. В держателе купольного массива пробиваются отверстия, соответствующие особенностям монтажа печатной платы. Штифты, проходящие через оба слоя, обеспечивают правильное позиционирование до контакта с клеем. Этот метод практически исключает ошибки выравнивания при производстве.
Давление при размещении
| Метод размещения | Уровень давления | Последовательность | Подходит для |
| Нажатие пальцев | Низкопеременный | Бедный | Только быстрые прототипы |
| Резиновый валик | Умеренно - даже | Хорошо | Мелкосерийное производство |
| Плоский пресс | High-Even | Превосходно | Средние объемы |
| Автоматизированное размещение | Контролируемый | Превосходно | Крупносерийное производство |
Критические ошибки при сборке купольного массива
Поспешное отверждение клея
Чувствительные к давлению клеи достигают полной прочности сцепления через некоторое время - обычно от 24 до 72 часов в зависимости от состава. Проверка ощущения кнопки сразу после установки дает ложное впечатление. Купольная матрица может немного сместиться при первом использовании, если клей еще не полностью затвердел.
Для производства это означает, что собранные платы должны отдохнуть перед функциональным тестированием. Для прототипов терпение при первоначальной оценке позволяет избежать ошибочных выводов о тактильном качестве.
Захват пузырьков воздуха
Пузырьки под купольным массивом выглядят незначительно, но создают реальные проблемы. Они создают слабые места в клеевом соединении. Со временем они могут мигрировать, в конечном итоге попадая в карманы купола и влияя на срабатывание. В крайних случаях воздух, попавший в ловушку, расширяется при перепадах температуры, поднимая носитель с печатной платы.
Профилактика легче, чем лечение:
- Положите сначала один край, затем постепенно сворачивайте.
- Используйте соответствующие инструменты для равномерного распределения давления
- Работа в контролируемой среде, чтобы свести к минимуму перепады температур
- После укладки проверьте визуально - пузырьки обычно выглядят как светлые пятна
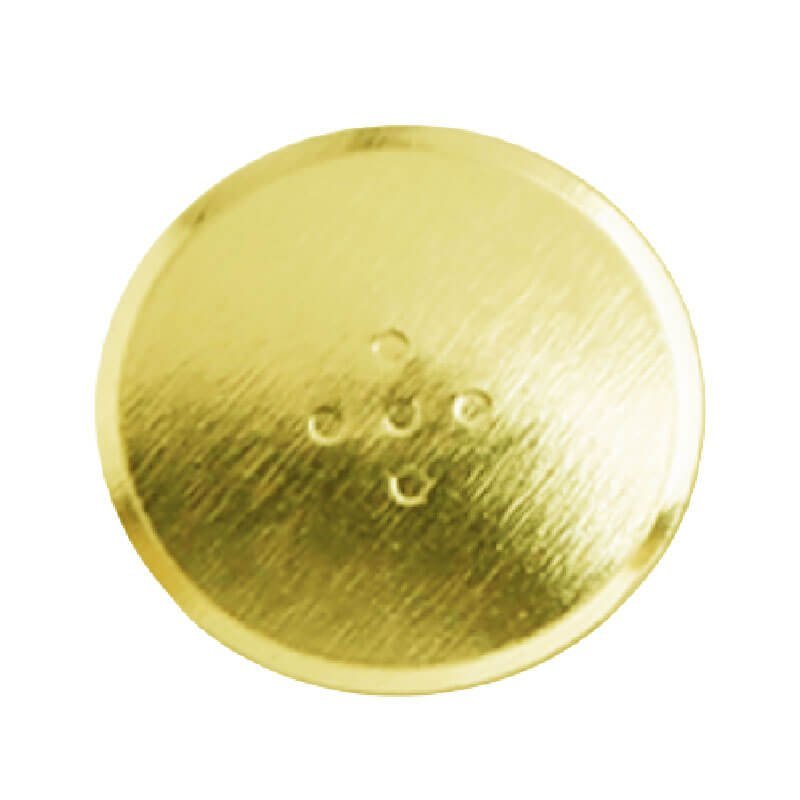
Загрязнение контактов купола
Клейкая поверхность массива куполов обращена к печатной плате, но при обращении с ними нижние стороны куполов остаются открытыми. Прикосновение к этим контактным поверхностям приводит к переносу масел, которые увеличивают электрическое сопротивление в месте контакта переключателя. За тысячи циклов такое загрязнение ускоряет износ.
Сохранение контактных поверхностей куполов в первозданном виде означает, что работать с ними нужно только за края и в соответствующих перчатках. Это кажется очевидным, но давление на сборочной линии иногда побуждает использовать короткие пути, которые впоследствии дорого обходятся.
Проверка после установки
Визуальные проверки
После установки проверьте установленный купольный массив на наличие:
- Полная адгезия по всей поверхности
- Без видимых пузырей и приподнятых краев
- Правильное выравнивание с контактными площадками
- Отсутствие поврежденных или смещенных куполов
Подсветка или боковое освещение помогают выявить тонкие проблемы, которые не видны при верхнем освещении.
Функциональное тестирование
Каждый купол должен обеспечивать постоянную тактильную отдачу и надежное электрическое переключение. Ручное тестирование заключается в нажатии на каждое положение и отмечании тех, которые ощущаются неправильно - липкие, кашицеобразные или непоследовательные по сравнению с другими. Автоматизированные испытательные стенды позволяют измерить фактическое сопротивление контакта и силу нажатия для проверки производства. Если вы хотите узнать больше о купольной матрице, пожалуйста, прочитайте Что такое купольный массив.
ЧАСТО ЗАДАВАЕМЫЕ ВОПРОСЫ
Можно ли изменить положение купольной решетки после первоначального размещения?
Перестановка возможна в течение короткого промежутка времени - обычно нескольких минут - до того, как клей начнет прочно схватываться. Работайте медленно, отклеивая с одного угла под очень малым углом, чтобы не растянуть носитель и не сместить купола. Однако повторное позиционирование ослабляет конечное соединение по сравнению со свежей укладкой. При изготовлении изделий перепозиционированные купольные массивы следует заменять, а не использовать повторно. При работе с прототипами можно пойти на компромисс, если бюджет ограничен, но при этом следует ожидать сокращения срока службы адгезии.
Что вызывает периодические сбои в работе переключателя купольной решетки после установки?
Несколько факторов вызывают периодические проблемы. Наиболее распространенные: загрязнение клея, препятствующее полному сцеплению (купол смещается при нажатии), окисление или загрязнение контактных площадок (высокоомное соединение), смещение, вызывающее частичный контакт, или купола, смещенные во время работы, которые теперь неправильно сидят в своих карманах. Для диагностики обычно требуется снять массив куполов и осмотреть его и расположенные под ним печатные платы. Прерывистые проблемы редко устраняются сами собой - они указывают на проблемы сборки, требующие исправления.
Требуется ли специальное оборудование для установки купольной решетки?
Для изготовления опытных образцов не требуется специального оборудования - чистое рабочее место, изопропиловый спирт, безворсовые салфетки и резиновый валик для базовой установки. При серийном производстве специальные приспособления для установки улучшают согласованность и производительность. В крупносерийном производстве часто используется автоматизированное оборудование для подбора и установки, адаптированное для работы с купольными массивами. Инвестиции в оборудование зависят от объема производства и требований к качеству. Начинать с простого и добавлять оснастку по мере роста объемов - разумный подход для большинства организаций.